Happy Hardwood : Part I (Sanding & Staining)
/
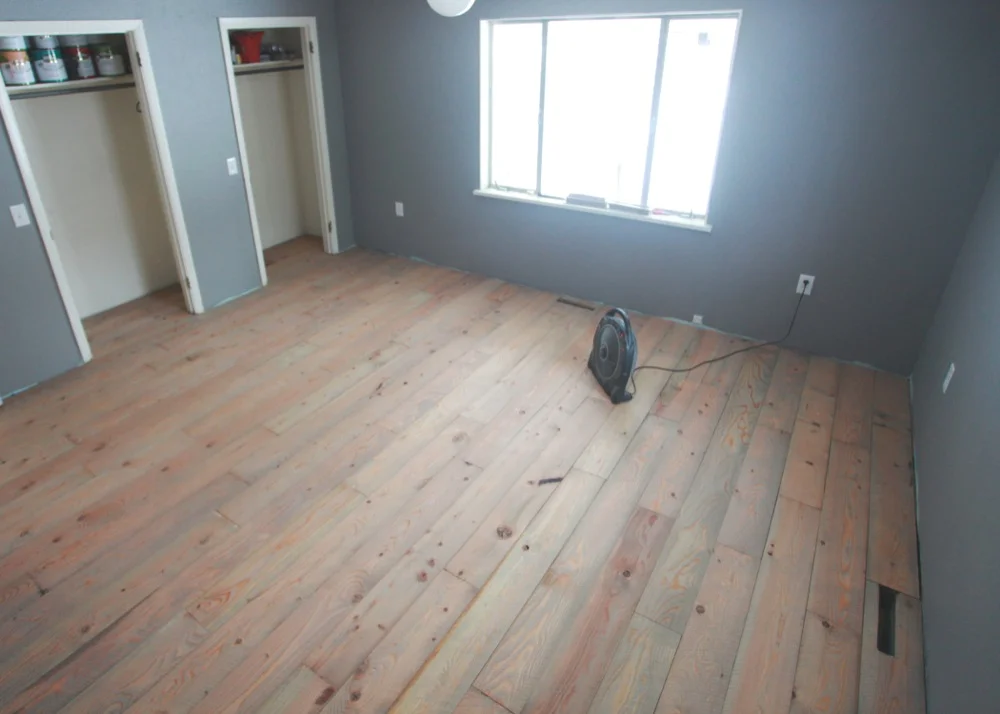
We are now embarking on one of the most gratifying parts of the remodel...finishing the wood floors! The above photo shows the great room immediately after sanding. At this point, we still didn't know how we wanted to finish them. Endless Google searches and Pinterest wandering ensued (what did DIY'ers do before the internet?!).
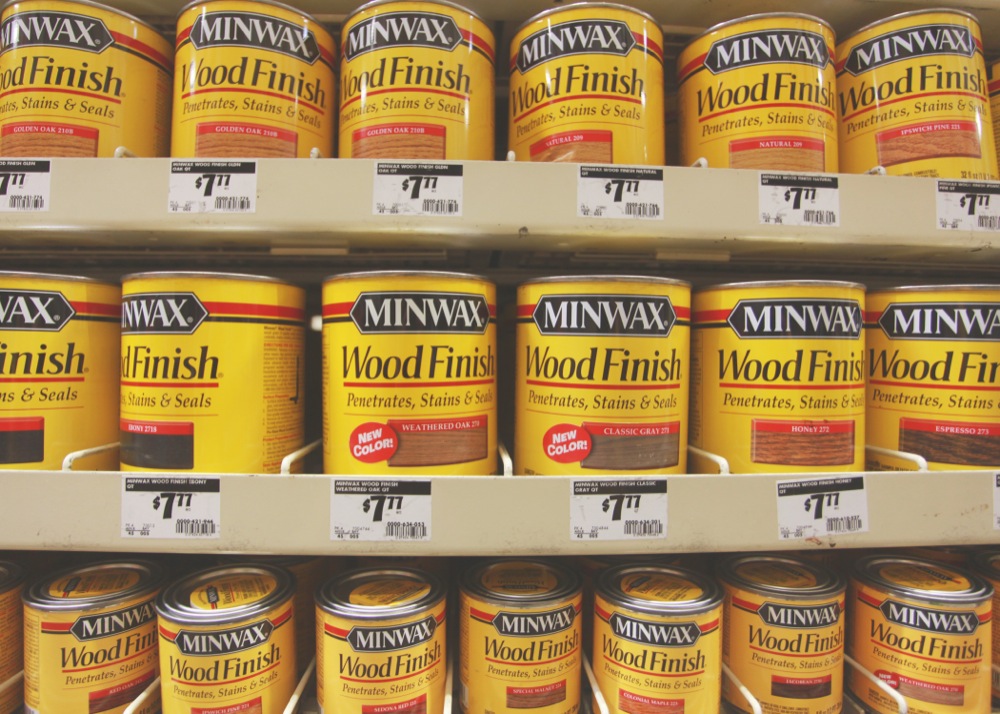
We did some testing with different Minwax stains that we already had on hand...probably 7 or 8. None of them seemed right. We headed back to Home Depot and found a new shade called "Weathered Oak" to try. Because the natural tone of douglas fir is very orangey and warm, I was hoping the grey would offset that a bit. Plus, I love grey. Well, most of the time. ;-)

Home Depot on a Friday night. Emma is not amused! "No paparazzi!".
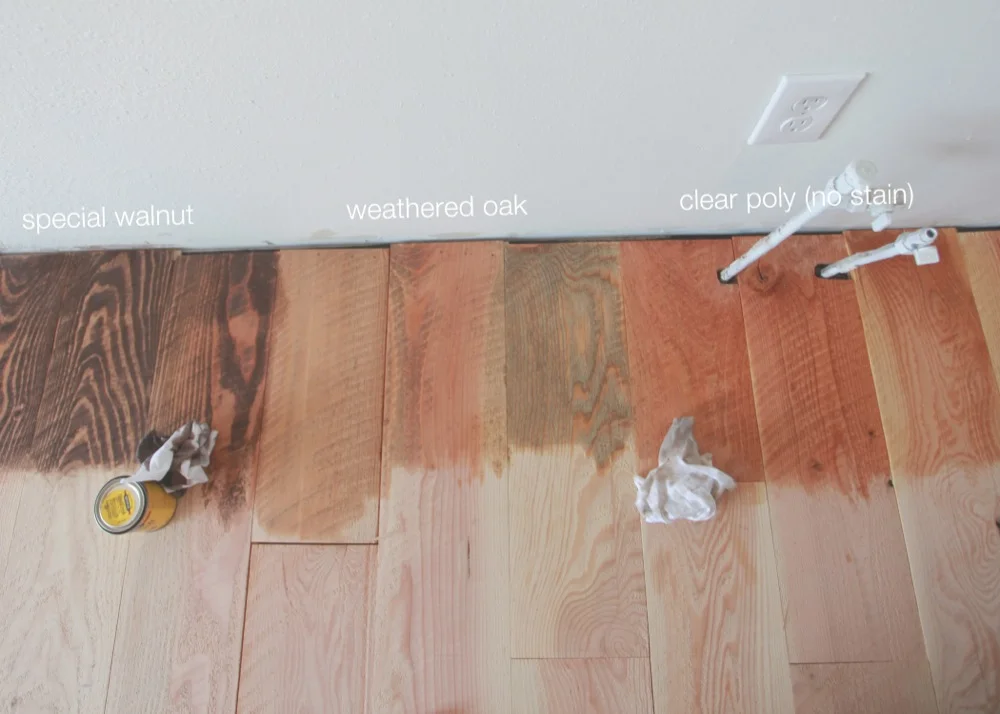
Here is the final round of testing we did. The special walnut was dark, dark brown...not exactly what we were going for. We had initially planned on keeping the wood natural and just putting the clear coat on top. That test is on the far right. However...it just didn't bring out the beautiful grain in the wood enough. Very one-dimensional. And that's when we decided that we LOVED the weathered oak. The grey color soaked in just enough to bring out the grain and create a sort of barnwood effect. (*sigh* oh barnwood I love you). Each piece of wood has a unique color and grain pattern, so it's variegated and lovely.
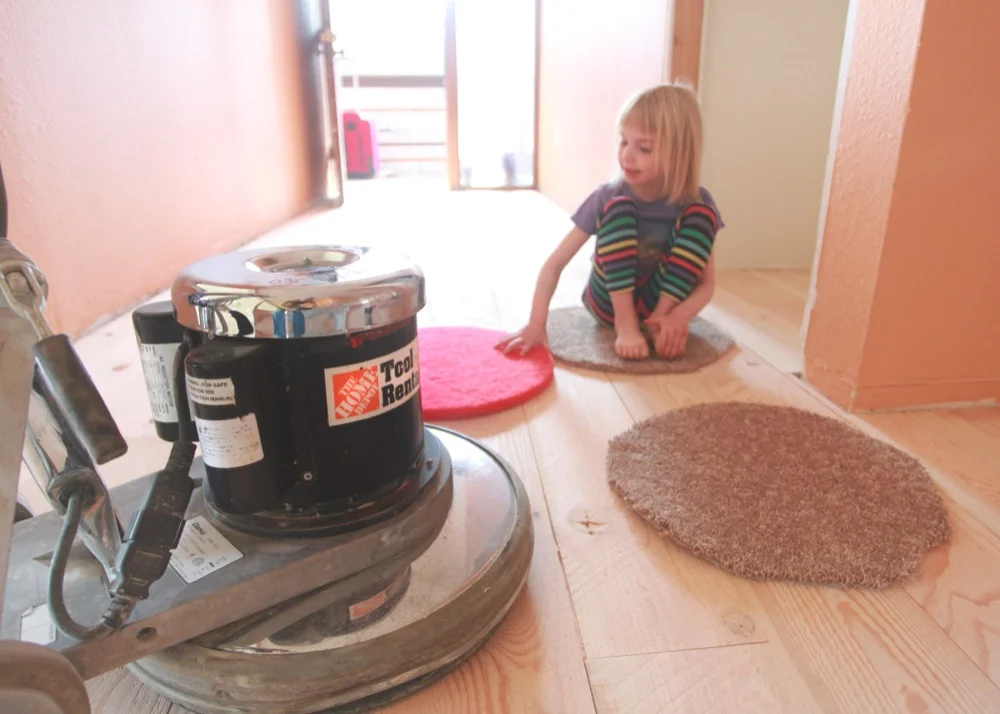
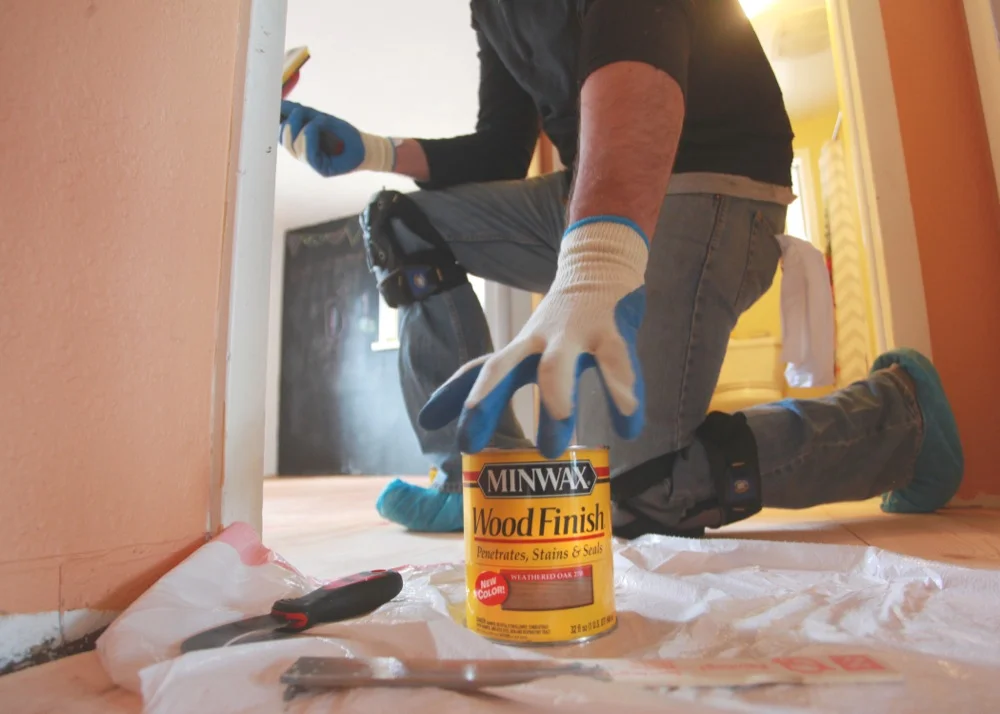
We rented a buffer at The Home Depot...and bought a small remnant of plush carpet to cut into rounds to use as the stain applicator. The first step even before staining was to "pre-stain" the floor with conditioner. This is recommended, especially with softer woods like fir, to help the stain distribute evenly and to moisturize the wood. We used the buffer to apply that as well.
All set and ready to go...the moment of truth!
Here is Matt applying the stain in the master bedroom...we used the buffer to apply it in the bedroom and the great room. He applied it by hand in the art room and the hallway. As you can see...the stain goes on very grey. Matt loved me standing there offering my opinion during the process ;-)
"Oooooooh...pretty!"
"Wait...why does it look like that?"
"Is it going to stay that grey?"
"Are you going to wipe that off more?"
Once I stopped interrogating, it went fairly quickly. And then....
THIS! Ohhhhhhh! I'm in love. I especially like how the grey in the floors matches the grey we chose for our walls (Martha Stewart Cement Grey).
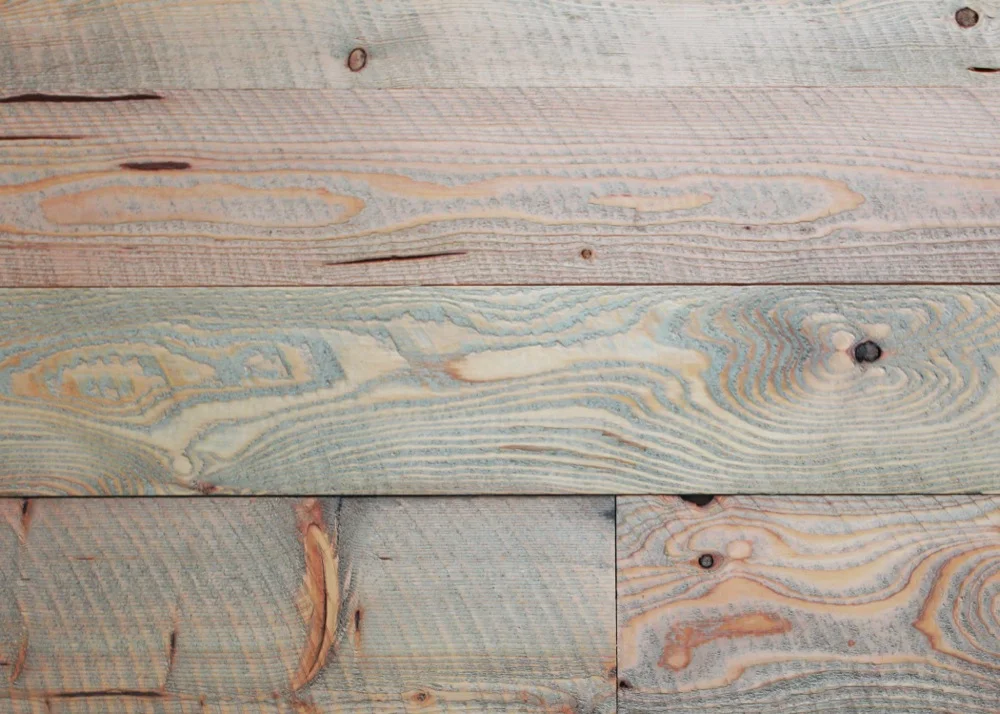
And so now I just sit and stare at my floors. Look at the beauty! And yes...there is a feather-shaped knot in my main walkway. Do you see it?! This photo shows the cross-sawn marks that the wood has as well. We're so happy with how they turned out!
Tomorrow I will share how we sealed them and show you the great room all finished! Yay!